To view these 3D photos requires good binocular vision and a bit of practice. Sit slightly back from you monitor, look at the photo and then relax your eyes so it goes a bit out of focus. Next, cross your eyes slightly so you see three images instead of two. Then concentrate on the image in the middle which should appear in 3D (like a ViewMaster slide). Be sure to hold you head straight up and down; if you cock your head to one side it won't work.
It may help to view the images a bit larger. If you click on the images you will be taken to my flickr page where you can click on the "all sizes" button to pick the size you want to look at. The bigger you make the image the further back you should sit from your monitor. Here are some pirates for you to practice on.

I'm not sure why there were pirates at lazy days. I saw a couple of groups but these two looked the best in their costumes and were the only ones I chased down and photographed. They might have been performing on one of the event stages and I didn't catch their act.
The SKF-1 is not exactly easy to use in crowds. To take a photo that had both pirate and wench in the usable part of the stereo image I had to stand on the other side of the sidewalk half-way across the street. My pirates were very patient holding their pose while we waited for a gap in traffic on the sidewalk so I could grab the shot.
The old 30mm lens that lets me use the SKF-1 on my D40 doesn't autofocus and it lacks the linkage that would allow the camera's meter to work. This means that I was doing everything manually -- focus, aperture, shutter -- and guessing at exposure. While trying to grab opportunistic shots in a crowd on day where the sun was in and out of little puffy clouds I tend to forget to focus half the time, and of those shots where I do focus I guess wrong on the exposure half the time and the few photos you see here were selected from a much larger set of pictures that just didn't come out.
Since I find 3D photography interesting this posting will have a certain amount of technical discussion which some of my readers may find tedious. Feel free to skip or skim the text and just look at the pictures. I won't mind.
Here are those pirates again. Same photograph, different presentation.
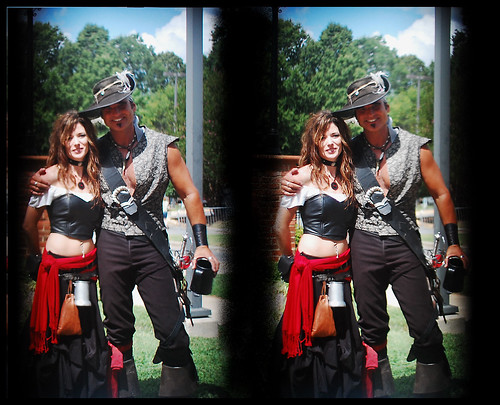
Mounted on my camera with the lens I am using the SKF-1 tends to vignette. That is the images fade off into blackness at the edges. This would be OK except for the fact that it fades off at different points for the left and right eye images and it detracts from the 3D effect to see an object with one eye but not the other. In this second presentation of the pirates I have adjusted the vignetting so that it is approximately the same on both sides. I airbrushed out the parts of each image that don't appear in the other image in the pair. This presentation makes the subject a bit smaller (because I left room on the edges to fade to black) but it helps keep the edge of the frame from confusing the stereo effect.
Here's a shot of the crowd in the street. I don't know who the young lady in the photo is. I wanted a shot of the crowd and he happened to be there providing a not-unwelcome foreground element.
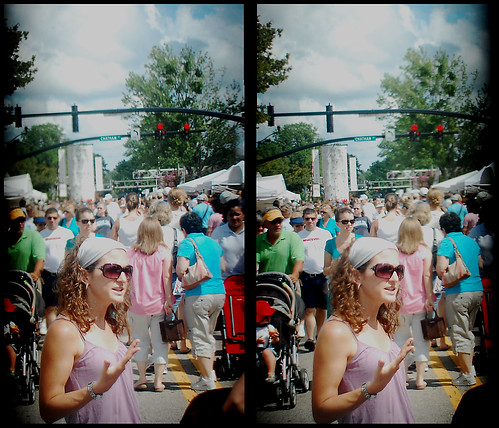
If you uncross your eyes for a minute and look at the image normally you will notice that the two images differ slightly in sharpness, focus and contrast. It's interesting that these defects in the photo are less apparent when you view it in stereo. Your brain will tend to take detail information from the eye with the sharper view and ignore the one-eye fuzzy bits. We can thank our soviet-era Ukrainian optics for an opportunity to observe this fascinating effect.
Here are a couple of shots of a local politician out pressing the flesh.
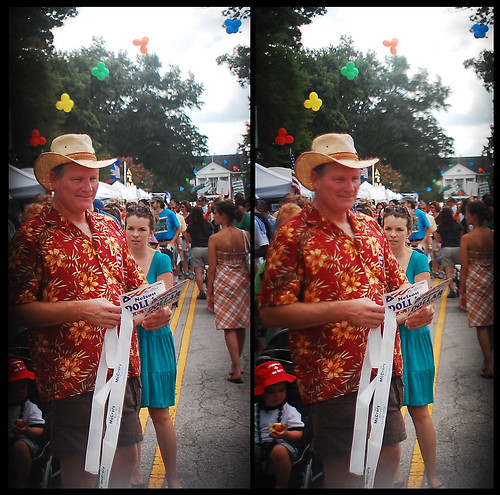
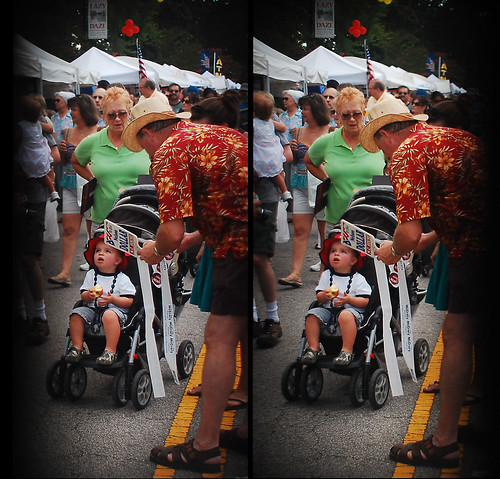
This is my lovely wife in her ridiculous hat.
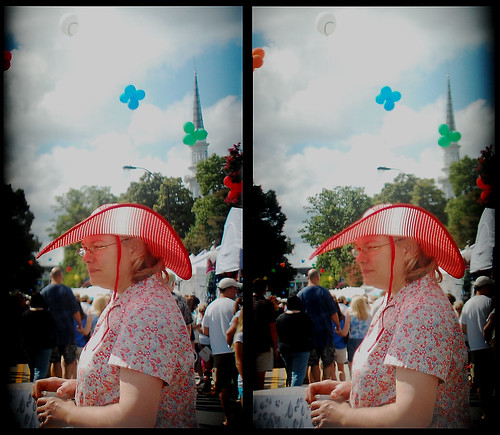
Notice that she is in focus on the left side and the bald guy in the background is in focus on the right. Both images were shot with on lens shooting through flat glass and flat mirrors. I can't explain why the focus is different on different sides but there you go.
Here's a closeup of part of a potters display.

The stereo effect is rather muted on this one. The SKF-1 works better with people-sized subjects.
The town had volunteers sitting on beach-lifeguard-style chairs and providing information. Here's one...
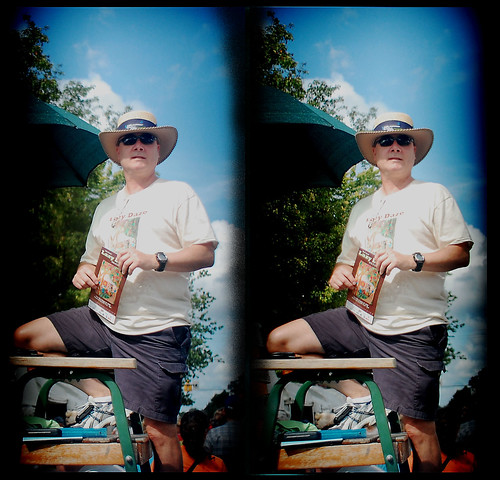
...and here's another.
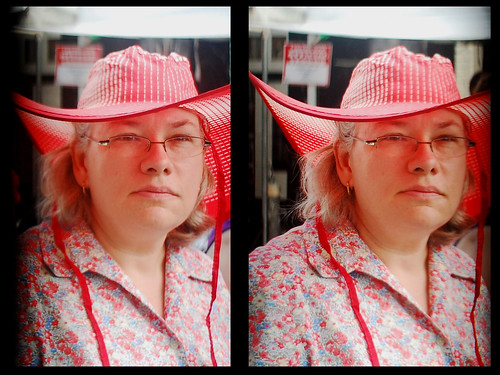
Heres another shot of that lady in the hat.
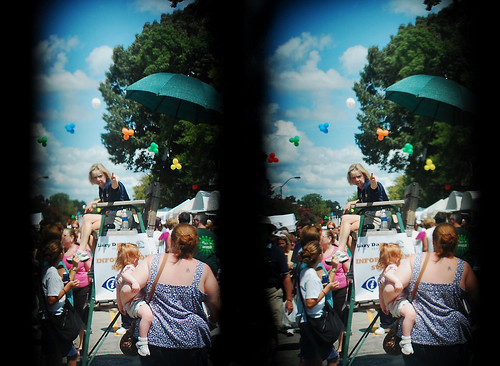
Here's a guy carrying a dog.
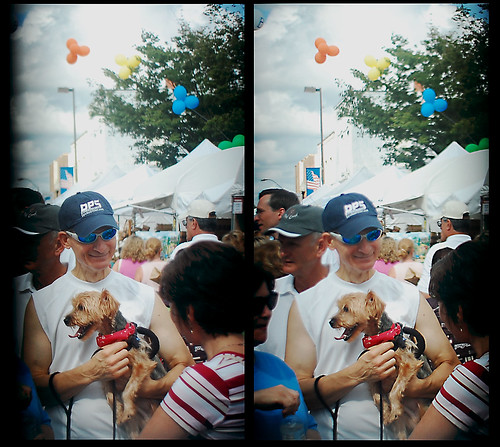
This shot shows the difficulty of shooting 3D in crowded settings. The lady on our left -- in the blue shirt and sunglasses -- appears in one image but not the other. You will see her with your left eye but not your right. In general, with 3D photos you want the same distant background in both images with your foreground subjects in the center of the frame so they don't get truncated by the edge of the frame. Because my subject was standing in a crowd of people it is difficult to find a crop that doesn't truncate someone in the foreground.
A booth with flowering plants.
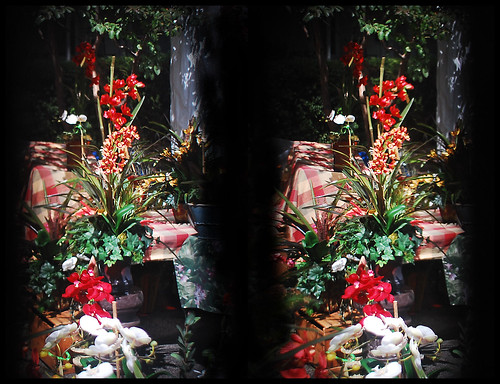
The tall, skinny format, combined with the need to keep the subject objects away from the edge of the frame made this a less-than-compelling image.
A display of hand-made neckties.
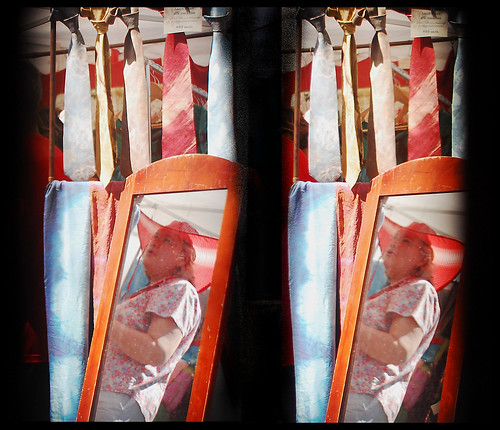
I wanted to get the man who made the ties, and his ties, and my wife in the mirror, all in the same shot. But because of the tall, narrow shape of the image I couldn't get it all in. You can see just a bit of the tie-maker on the left side of the photo. He was wearing a red t-shirt.
Here's a shot of a statue in front of the Cary Public Library.
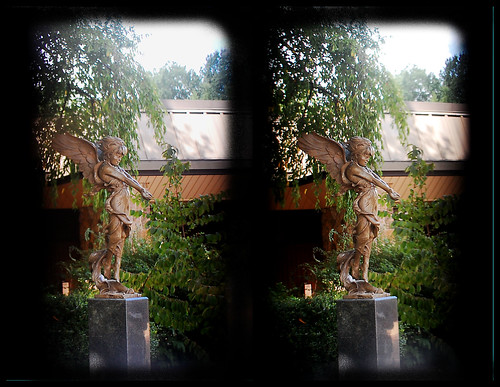
It's a fairly successful example of making the vignetting symmetrical.
Here's a little girl playing around the same statue.
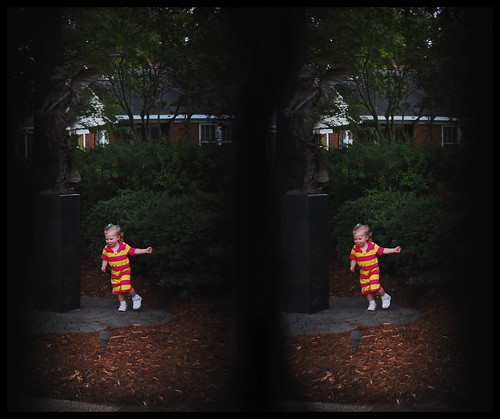
It's not a particularly successful stereo photo. The girl is nicely exposed but the background is so dark that you don't get much sense of depth. Pity. I like her pose and her outfit.
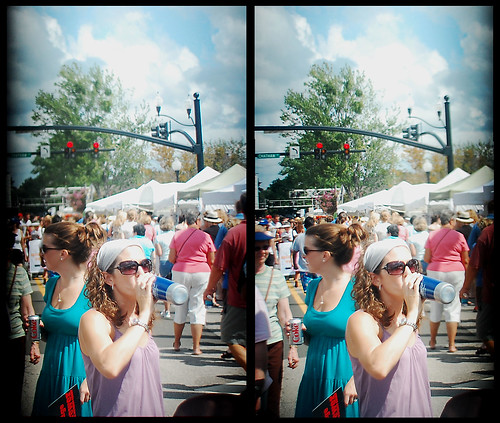
Here's the last photo. It's the same random young lady we saw before.
That is the end of the main session, so to speak. For those who are interested I will briefly go over the process for taking the images as they came from the camera and processing them to be viewed as a cross-eye 3D picture.
Here is the image above as it came off the camera. (Note: this is NOT a cross-eye image and can't be viewed that way. If you have a parallel-image stereo viewer that would work but crossing your eyes won't.)
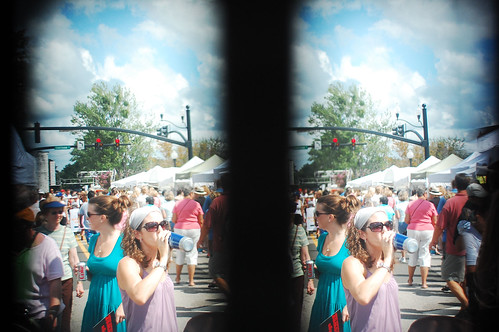
The first step in preparing an SKF-1 3D image for crosseyed viewing is to take the left half of the image and put it on the right and take the right half and put it on the left. This image has had the sides reversed and it can be viewed by the crosseye method. It is not a particularly satisfactory 3D image, however, since the field of view differs between left and right and several ghost images caused by internal reflection are visible near the center of the image. More steps are needed to correct these problems.
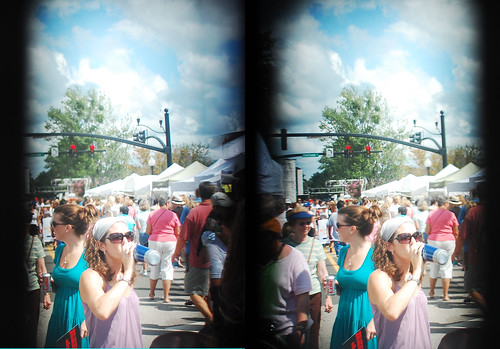
The next step is to sharpen the image and correct the contrast and exposure.
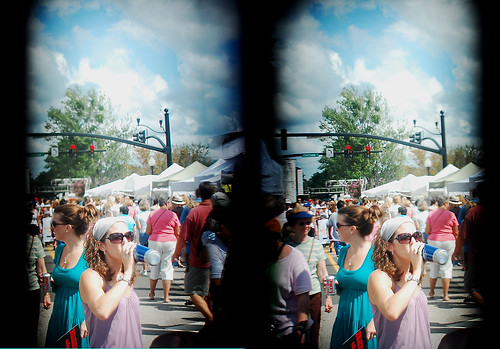
The SKF-1 3D adapter I used to take this shot tends to get ghost images on the edges from internal reflections within the adapter (especially when shot with a large aperture). These will need to be omitted from the final crop but, fortunately, they fall outside of the area where the left and right images overlap so we won't lose any stereo information.
Here I've circled the ghost-images of tents to our left and right.
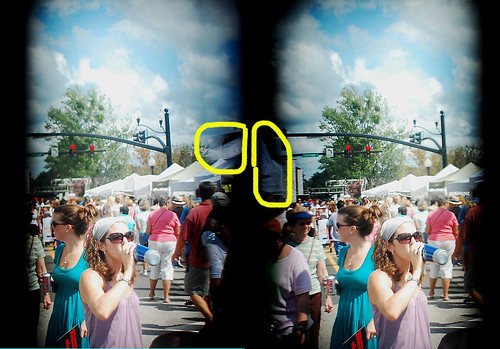
Next we find left and right crop locations.
The SKF-1 is a bit walleyed. The right-eye image includes information on the right side that does not appear in the left-eye image. Similarly the left-eye image includes stuff on the left that isn't in the right-eye image. In this image I have added arrows that indicate objects that mark the left and right extreme of the area where the images overlap on the distant background details. The useful stereo image extends from the right edge of the vertical sign on the left to the middle twig in the tree on the right.
The arrows here indicate the left and right extent of the useful stereo image.
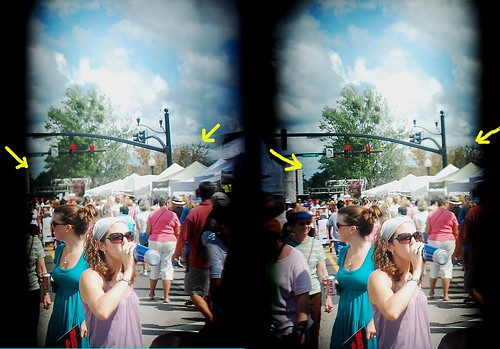
This image has the confusing extra stuff on left and right removed. It comes together better now as a stereo image. The vignetting at the top is still something of an annoyance since it differs from left to right.
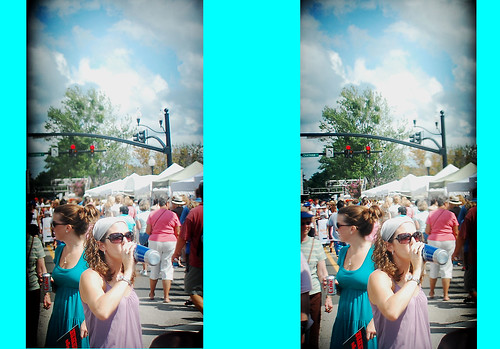
The useful stereo image with the SKF-1 consists of two tall and narrow images. Since this photo had rather more sky tan we needed, and since the vignetting at the top of the image was a problem I cropped it at the top as well as the sides.
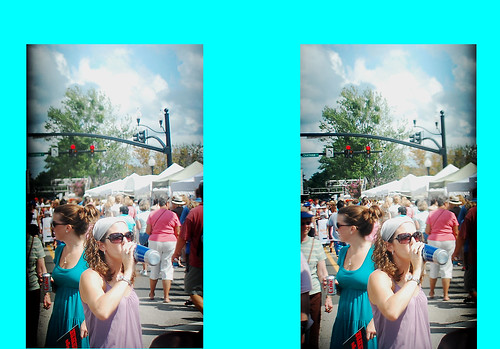
Taking our reversed, corrected and cropped images and mounting them side by side gives the finished product (which we have seen before).


No comments:
Post a Comment